前言:
終於要告別Apache了,打從念資訊科系就接觸的Apache超過20年了...
本來還想打一堆廢話撐版面...還是算了...對Apache的緬懷下略500字
在上一篇 [心得] CentOS 6.10 安裝 PHP7.3 MariaDB Nginx WordPress (LEMP環境)
已經在測試機上複製跟伺服器相同環境,運作上也正常
所以這篇就是把伺服器的Apache 換成 Nginx 並且讓網站SSL設定也正常
Apache 跟Nginx 是可以同時存在的(不能同時占用相同埠號 如port:80)
所以在更改 Nginx 的設定檔的過程中,如果無法正常使用,是可以立即切回去原本正常運作的Apache的
內容補正
原本伺服器把Apache改成Nginx上線後,網址列的SSL鎖頭可以正常顯示
以為這次沒碰到什麼坑...沒想到當我要把這篇初稿的內容轉貼到臉書上時
碰到坑了...就知道沒那順利...
之前把WordPress的連結轉貼到臉書上,都會顯示縮圖跟文章的標題
這次要轉貼,發現有異常,圖跟標題無法顯示,只有網址列
正常的貼文會如下圖:(不正常的還沒抓...坑就填好了)

Q:怎樣發現是SSL憑證的坑?
A:使用 Facebook Debuger
雖然網址列的SSL鎖頭是正常顯示,但在臉書轉貼WordPress文章卻無法正常顯示文章縮圖跟標題,使用臉書除錯工具後才發現是SSL憑證不完整
填坑的過程就不加以細述,直接說重點
原本以為在Apache用的憑證可以直接拿來給Nginx用
事實上我也這樣做了,原本以為是偷吃步...結果碰到坑
也許真的可以這樣做,但要花時間找資料填坑...
最簡單的方式用 certbot.eff.org 直接重新跑一次流程,不用3分鐘就解決了。
上次用的時候是兩年前,沒想到這次用這隻程式更進步了,直接自動修改設定檔...目前伺服器已經是用Nginx + Let's Encrypt SSL
以下就直接貼上我目前的Nginx設定檔
nano /etc/nginx/conf.d/default.conf
#
# The default server
#
server {
    listen       80;
    server_name  smilehsu.cc;

    #charset koi8-r;

    #access_log  logs/host.access.log  main;

    # SSL設定
    ssl on;
    listen 443;
    ssl_certificate /etc/letsencrypt/live/smilehsu.cc-0001/fullchain.pem; # managed by Certbot
    ssl_certificate_key /etc/letsencrypt/live/smilehsu.cc-0001/privkey.pem; # managed by Certbot

    #include /etc/letsencrypt/options-ssl-nginx.conf;

    location / {
        root   /var/www/html/wordpress;
        index index.php  index.html index.htm;
        try_files $uri $uri/ /index.php?$args;
    }

    error_page  404              /404.html;
    location = /404.html {
        root   /usr/share/nginx/html;
    }

    # redirect server error pages to the static page /50x.html
    #
    error_page   500 502 503 504  /50x.html;
    location = /50x.html {
        root   /usr/share/nginx/html;
    }

    # proxy the PHP scripts to Apache listening on 127.0.0.1:80
    #
    #location ~ \.php$ {
    #    proxy_pass   http://127.0.0.1;
    #}

    # pass the PHP scripts to FastCGI server listening on 127.0.0.1:9000
    #
    location ~ \.php$ {
        root           /var/www/html/wordpress;
        fastcgi_pass   127.0.0.1:9000;
        fastcgi_index  index.php;
        fastcgi_param  SCRIPT_FILENAME  $document_root$fastcgi_script_name;
        include        fastcgi_params;
    }

    # deny access to .htaccess files, if Apache's document root
    # concurs with nginx's one
    #
    #location ~ /\.ht {
    #    deny  all;
    #}

}
唯一要注意的是一個小地方
location / {
        root   /var/www/html/wordpress;
        index index.php  index.html index.htm;
        try_files $uri $uri/ /index.php?$args;
    }
其中的
try_files $uri $uri/ /index.php?$args;
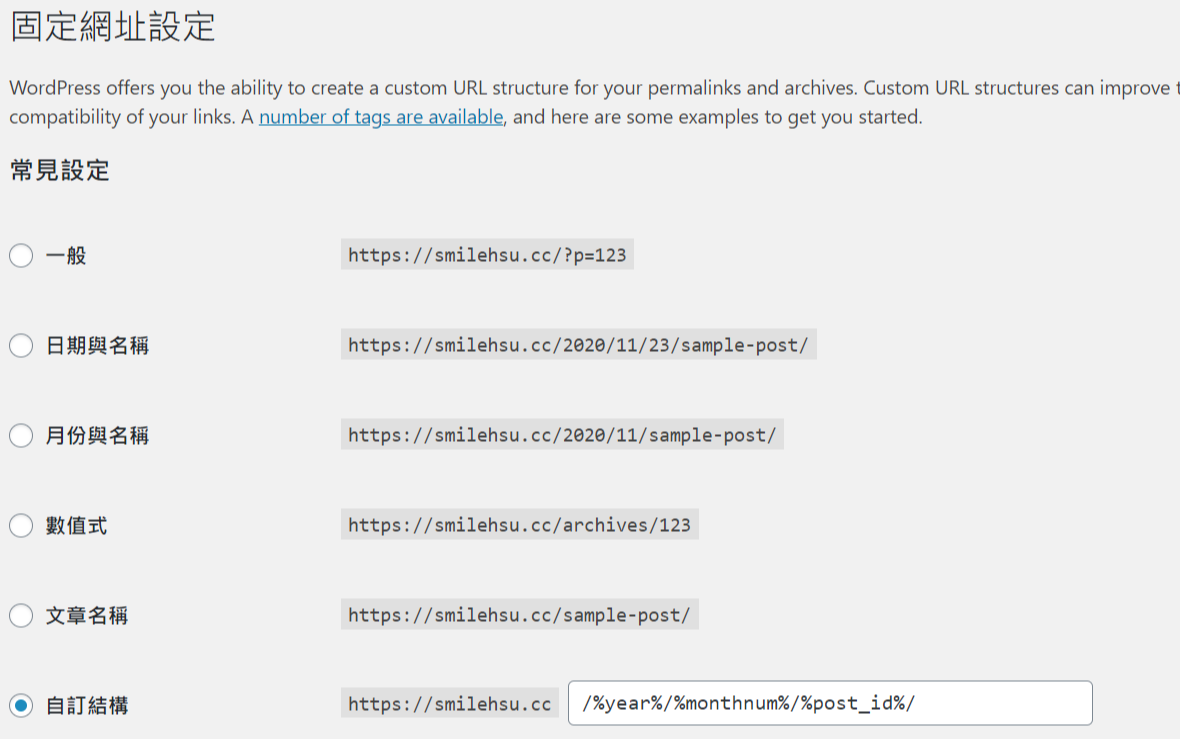
加這一行的用意是,如果WordPress是使用自訂網址的話
那麼只能看的到首頁 跟後台的畫面,其他的都會顯示錯誤

設定檔存檔後
service nginx start
service php-fpm start

chkconfig nginx on
chkconfig php-fpm on
chconfing httpd off
Reference:
- certbot.eff.org -CentOS 6 +Nginx
- How To Install WordPress with nginx on CentOS 6
- Nginx 設定 WordPress Rewrite 固定連結
- 解决 Nginx 开启 ssl_stapling 提示 issuer certificate not found 问题
ps:ssl_stapling 可直接註解掉 - 如何解決 Facebook 分享時抓不到標題和縮圖問題?(Facebook Debugger)