這篇是用Django建立LineBot的範例
Line官網的範例是用Flask,我是喜歡Django自帶的管理後台
所以在學習LineBot時就使用Django
以下是實作流程:
先建立虛擬環境並安裝所需套件
pip install django=="2.2.7" line-bot-sdk=="1.8.0" dj-database-url dj-static gunicorn psycopg2 django-simple-captcha
建立django 專案 mysite
建立app 名稱叫 myapp
建立static templates 資料夾
python manage.py migrate
python manage.py createsuperuser
pip freeze > requirements.txt
#檔案 runtime 內容
python-3.7.5
#檔案 Procfile 內容 (mysite=專案名稱)
web: gunicorn --pythonpath mysite mysite.wsgi
#新增網站管理帳號
python manage.py createsuperuser
#===================================================
#setting.py (修改的部分)
DEBUG = False
ALLOWED_HOSTS = ['*']
#INSTALLED_APPS 添加
myapp
#TEMPLATES 添加
'DIRS': [os.path.join(BASE_DIR,'templates')],
#時區設定
LANGUAGE_CODE = 'zh-Hant'
TIME_ZONE = 'Asia/Taipei'
#靜態目錄
STATIC_URL = '/static/'
STATICFILES_DIRS=[
os.path.join(BASE_DIR,'static')
]
#Line 金鑰
LINE_CHANNEL_SECRET ='請自行填入'
LINE_CHANNEL_ACCESS_TOKEN ='請自行填入'
#===================================================
#mylinebot/urls.py 內容
from django.contrib import admin
from django.urls import path
from django.conf.urls import url
from myapp import views
urlpatterns = [
path('admin/', admin.site.urls),
url('^callback',views.callback),
]
#===================================================
#myapp/views.py 內容
from django.conf import settings
from django.http import HttpResponse, HttpResponseBadRequest, HttpResponseForbidden
from django.views.decorators.csrf import csrf_exempt
from linebot import LineBotApi, WebhookParser
from linebot.exceptions import InvalidSignatureError, LineBotApiError
from linebot.models import MessageEvent, TextSendMessage
from module import func
line_bot_api = LineBotApi(settings.LINE_CHANNEL_ACCESS_TOKEN)
parser = WebhookParser(settings.LINE_CHANNEL_SECRET)
#傳什麼回什麼範例
@csrf_exempt
def callback(request):
if request.method == 'POST':
signature = request.META['HTTP_X_LINE_SIGNATURE']
body = request.body.decode('utf-8')
try:
events = parser.parse(body, signature)
except InvalidSignatureError:
return HttpResponseForbidden()
except LineBotApiError:
return HttpResponseBadRequest()
for event in events:
if isinstance(event, MessageEvent):
line_bot_api.reply_message(event.reply_token,TextSendMessage(text=event.message.text))
return HttpResponse()
else:
return HttpResponseBadRequest()
#===================================================
上傳到 Heroku
heroku login
heroku create 專案名稱(in heroku)
git init
heroku git:remote -a smilehsutestbot專案名稱(in heroku)
heroku config:set DISABLE_COLLECTSTATIC=1
git add .
git commit -am "init commit"
git push heroku master
#可省略
#heroku run python manage.py migrate
#可省略
#heroku run python manage.py createsuperuser
heroku ps:scale web=1
#heroku open
#取得網址
#https://專案名稱.herokuapp.com/
https://mylinebot1130.herokuapp.com/
在 LINE管理頁面
Webhook URL
填入:
https://mylinebot1130.herokuapp.com/callback
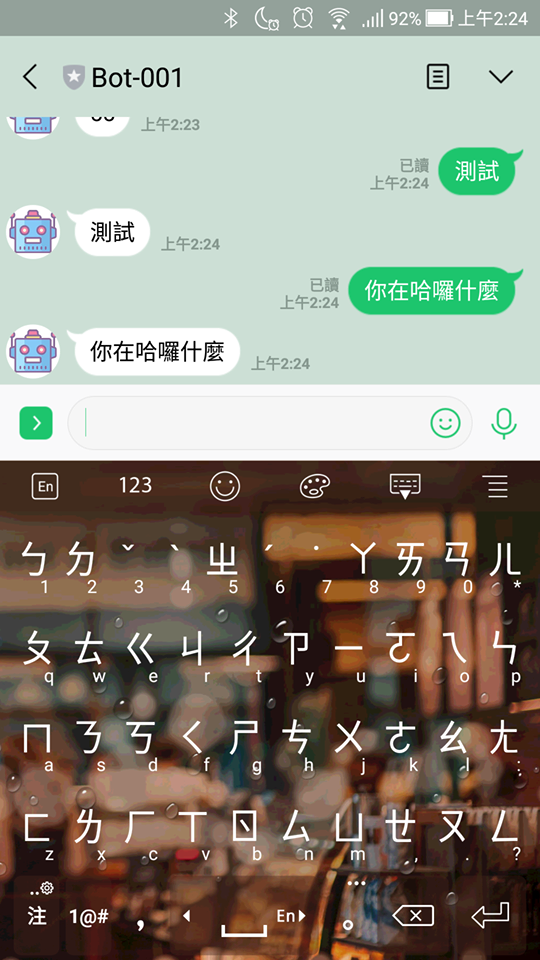
跟BOT說聲哈囉
打完收工
成果圖:
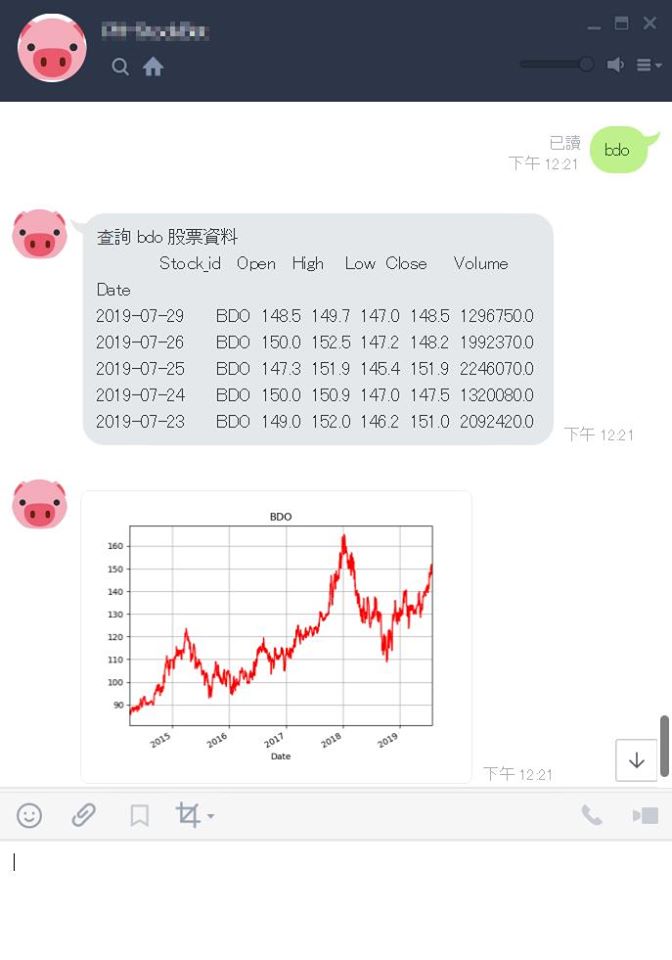
配合之前所寫的股市爬蟲:
這部分就以後補充...
備註:
1.新增範例的完成檔案:傳送門在此
下載&解壓縮後,理論上只要去修改setting.py 以下這兩行即可
LINE_CHANNEL_SECRET ='請自行填入'
LINE_CHANNEL_ACCESS_TOKEN ='請自行填入'
要測試功能,就上傳到Heroku,如要本機測試就要用ngrok ...未完待續 (2019-12-01)