好久沒更新了...
今年還是有在寫一些程式,只是懶的更新
也不是一直持續在寫,停了很久一段時間,回頭接著寫
發現都忘光光...連最基礎的也會忘記...所以還是來更新一下
當作備忘錄
這次是要實作Django部屬到Heroku的方法
系統環境:win10、Python3.6、Django2.2、Git2.x、Heroku CLI
以下實作流程:
先建立python虛擬環境並安裝所需套件

pip install django=="2.2.7" dj-database-url dj-static gunicorn psycopg2 django-simple-captcha

建立django 專案 mysite
建立app    名稱叫 myapp

python manage.py migrate
python manage.py createsuperuser
pip freeze > requirements.txt

runtime 內容
python-3.7.5

Procfile 內容 (mysite=專案名稱)
web: gunicorn --pythonpath mysite mysite.wsgi

新增網站管理帳號
python manage.py createsuperuser

#=====================================================
setting.py 部分內容修改

1.Debug 不用關(等傳到heroku上的網頁都能正常顯示再設為Flase)

2.更改的地方
#允許外部IP連線
ALLOWED_HOSTS = ['*']
#設定語系跟時區
LANGUAGE_CODE = 'zh-Hant'
TIME_ZONE = 'Asia/Taipei'

3.其他部分 如 static 跟template資料夾還不用設定
本篇內容只有開設一個"全新空白"的Django"網站並佈署在"Heroku"
其他設定日後可以自行修改

#=====================================================

heroku login
heroku create 專案名稱(in heroku)
git init
heroku git:remote -a  smilehsutestbot專案名稱(in heroku)
heroku config:set DISABLE_COLLECTSTATIC=1
git add .
git commit -am "init commit"
git push heroku master
#可省略
#heroku run python manage.py migrate
#可省略
#heroku run python manage.py createsuperuser
heroku ps:scale web=1
heroku open

打完收工
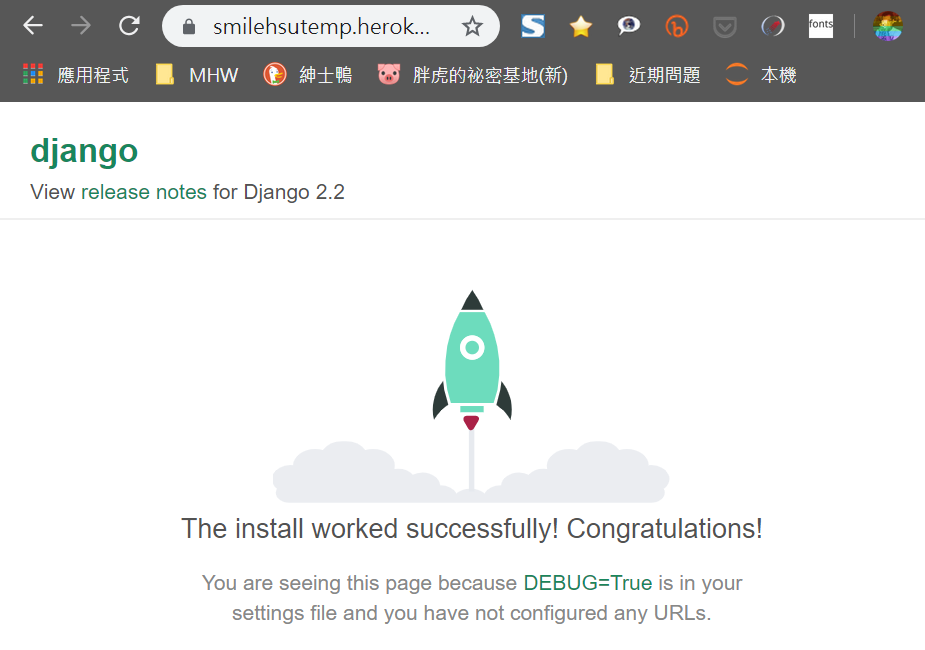
成果圖:
備註:尚無