之前我是把Jupyter NoteBook Server裝在GCP的測試主機上,最近免費試用一年的額度到期
所以就把Jupyter(簡稱)搬回目前在Linode的主機哩,安裝過程就不再重複可參考舊文:
[教學] CentOS6.5 X64 安裝 Jupyter Server
這篇記錄Jupyter搬回來之後的一些細部修改:
1.加裝SSL認證:
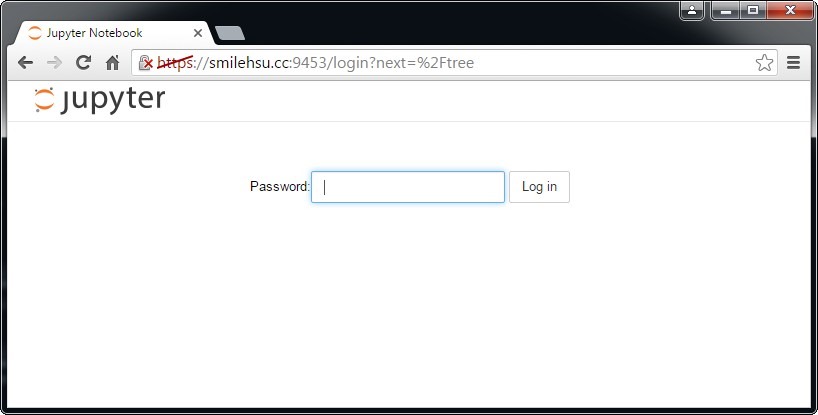
這是當初在GCP測試主機,沒有SSL憑證的樣子
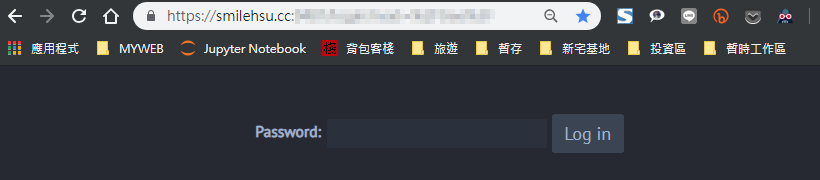
這是加掛SSL憑證的樣子
在Jupyter加掛Let's Encrypt SSL憑證前,必須讓網址先有Let's Encrypt SSL憑證(廢話! XD)
Let's Encrypt SSL可以看這篇:[心得] CentOS 6.8 + Let's Encrypt SSL +Apache + WordPress 全紀錄
編輯jupyter 設定檔:
nano /root/.jupyter/jupyter_notebook_config.py
填入以下資料:
c.NotebookApp.password = '自行填入金鑰'
c.NotebookApp.ip = '*'
c.NotebookApp.open_browser = False
c.NotebookApp.port = 9453

#Let's Encrypt SSL 的相關檔案
c.NotebookApp.certfile = u'/etc/letsencrypt/live/smile.hsu.cc/cert.pem'
c.NotebookApp.keyfile = u'/etc/letsencrypt/live/smile.hsu.cc/privkey.pem'
其實就是把原本c.NotebookApp.certfile & c.NotebookApp.keyfile 這兩條設定檔,代換成Let's Encrypt SSL 的憑證位置而已 🙂
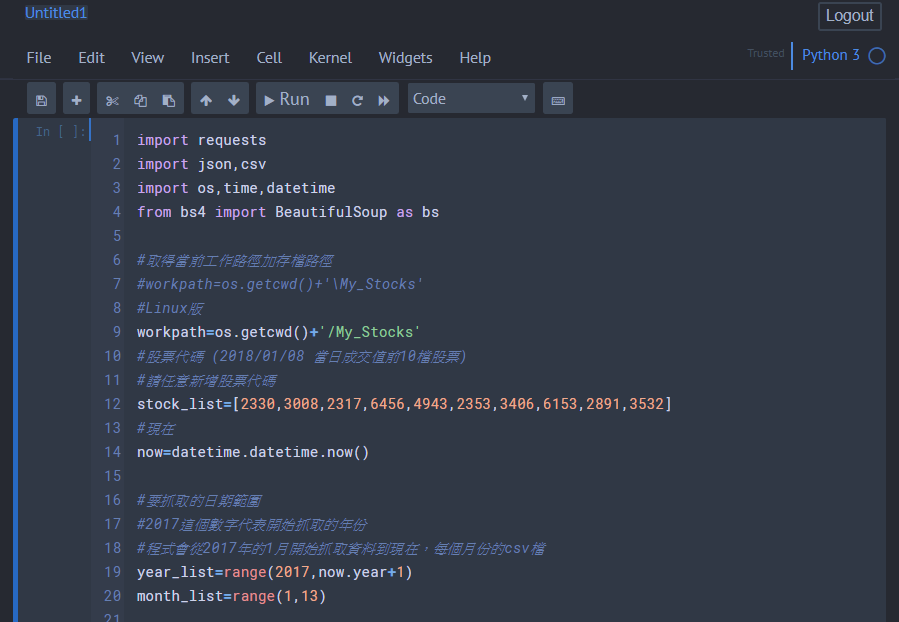
2.黑色佈景主題&顯示行號:
更換黑色佈景主題: by 傑瑞窩
pip install --upgrade jupyterthemes
jt -t oceans16 -tf merriserif -tfs 10 -fs 12 -nf ptsans -nfs 13 -T -N -f roboto
圖:
顯示行號:
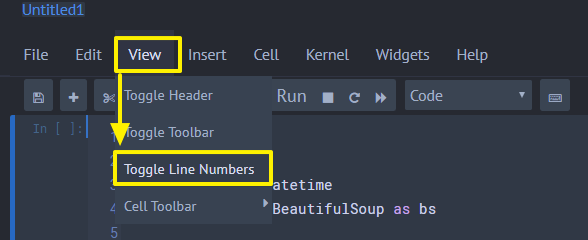
打完收工
備註:
啟動 Jupyter Server &背景執行:
nohup jupyter notebook --ip=0.0.0.0 --port=9487 --allow-root > jupyter.log 2>&1 &